Web自动化测试支持
QT4C的Web自动化测试依赖QT4W,关于Web自动化测试的相关内容,使用前请先参考《QT4W使用文档》熟悉QT4W的基础知识。
在使用QT4C进行Web自动化测试,你需要先安装QT4W:
pip install qt4w
在QT4C中提供了对Web自动化测试的支持,并且封装了cef3webview、chromewebview、iewebview和tbswebview四种webview:
| webview类型 | 支持Web页面类型 | 实现方式 |
|---|---|---|
| iewebview | IE浏览器页面以及IE内嵌页面 | 通过JS注入 |
| chromewebview | Chrome浏览器页面 | 远程调试 |
| cef3webview | cef3内嵌页面 | 通过JS注入 |
| tbswebview | tbs内嵌页面 | 远程调试 |
在Web自动化测试中,你需要对WebPage和WebElement进行封装。在QT4C中提供了两种封装方式:
- 使用webview基类进行Webview的封装,封装内嵌页面标识
- 使用浏览器Browser类来打开浏览器窗口,封装基础页面标识
Web内嵌页面的自动化测试
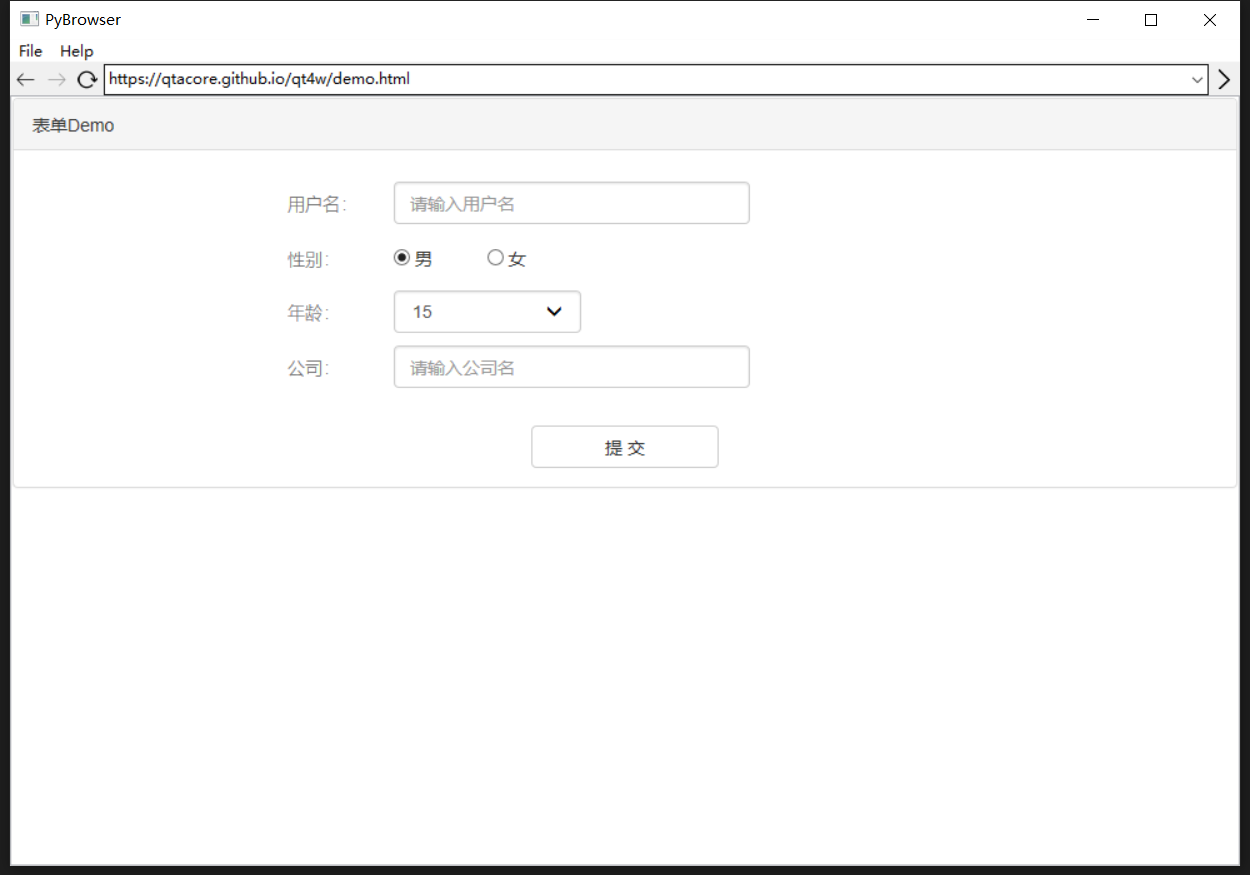
QT4C还提供了对Web内嵌页面的支持,这里以一个简单的Demo应用程序PyBrowser为例,这是一个简单的输入url访问对应网站的应用程序,其中包含了一个IE内嵌页面:
首先参考《封装App》对Demo应用程序封装一个简单的App类:
# -*- coding: utf-8 -*-
from qt4c.app import App
import subprocess, time

class PyBrowserApp(App):
    '''DemoWeb App
    '''

    def __init__(self):
        App.__init__(self)
        self._process = subprocess.Popen('C:\\Users\\qta\\Desktop\\pyBrowser.exe')

    @property
    def ProcessId(self):
        return self._process.pid

    def quit(self):
        self._process.kill()
        from qt4c.util import Process
        for i in Process.GetProcessesByName('pyBrowser.exe'):
            i.terminate()
        App.quit(self)
接下来以QT4W示例页面为例,使用Inspect获取该窗口的控件树,对Web页面进行封装。
封装webview
webview相当于一个内嵌页面的容器控件,如果你想要对内嵌Web页面进行封装的话,你必须先对容器进行封装。
根据不同内嵌页面,你可以选择不同的webview进行封装。因为Demo应用程序的内嵌页面属于IE内嵌页面,因此可以使用iewebview来进行封装,参考如下:
from qt4c.webview.iewebview import IEWebView
from qt4c import wincontrols

class Webkit(IEWebView):
    '''用于展示内嵌Web页面的容器控件
    '''

    def __init__(self, locator):
        self._win = wincontrols.Control(locator=locator)
        super(Webkit, self).__init__(self._win)
WebPage的封装和使用
WebPage一般对应一个Web页面,它里面包含多个Web控件元素。QT4C继承了QT4W的WebPage的实现,封装了PC端自动化所需的页面相关逻辑。在封装某个页面的WebPage时,一般会直接继承QT4C的WebPage的实现。
首先以一个实例介绍如何封装一个Web控件,参考如下:
'controlname':{
    'type': WebElement,
    'locator': XPath('//div[@id="controlid"]'),
}
封装一个Web控件需要控件名,而type用来指示控件的类型,locator传入的是XPath对象,用于定位控件。关于XPath的详细内容可参考《QT4W使用文档》。
至于更多的控件类型如容器类控件标识、容器类控件标识等请参考《Web控件标识》进行使用。
当webview封装完成之后,就可以使用封装好的webview来对需要进行测试的Web页面进行封装,这里需要通过Inspct工具获取内嵌页面的容器的控件属性:
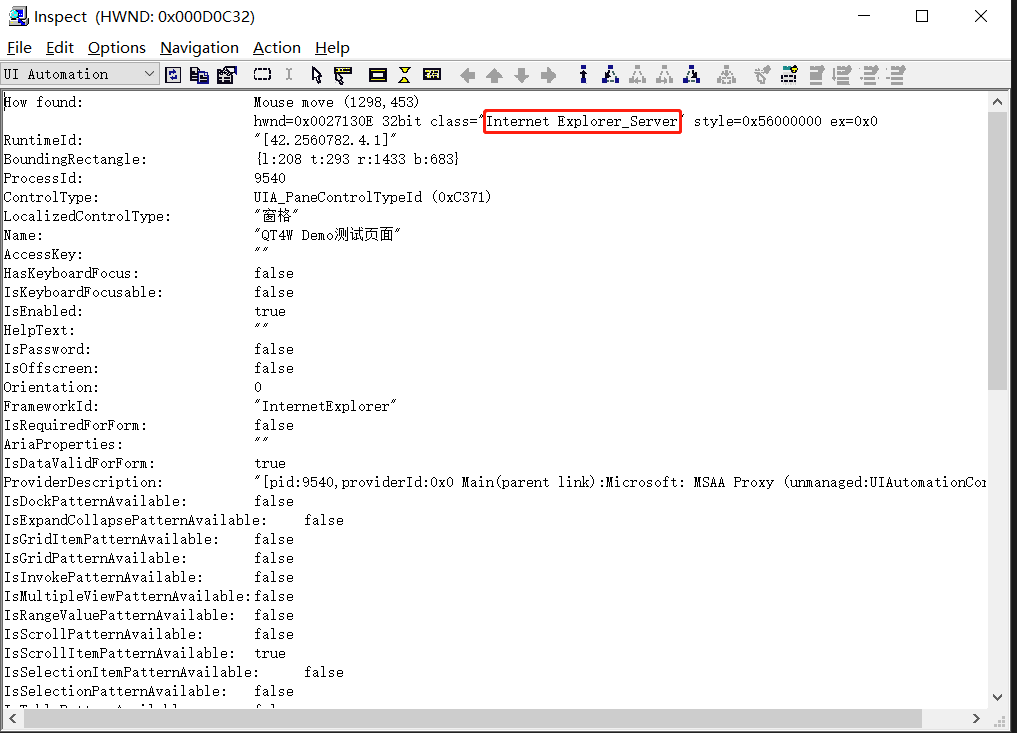
获取到控件属性之后,编写对应的QPath,实例化一个Control对象作为我们所封装的WebPage的容器控件:
from qt4c.webcontrols import WebPage, WebElement, XPath
from qt4c.qpath import QPath

class BrowserPage(WebPage):
    '''Demo页面
    '''
    def __init__(self, locator):
        qp = QPath("/ClassName='wxWindowNR' && Text='PyBrowser' && Visible='True' /ClassName='Internet Explorer_Server' && MaxDepth='4'")
        self._win = Webkit(locator=qp)
        WebPage.__init__(self, self._win)
        ui_map = {
            'title': XPath('//div[@class="panel-heading"]'),
            'name': {'type': InputElement, 'locator': XPath('//input[@id="name"]')},
            'female': XPath('//input[@value="female"]'),
            'male': XPath('//input[@value="male"]'),
            'age': {'type': SelectElement, 'locator': XPath('//select[@id="age"]')},
            'company': {'type': InputElement, 'locator': XPath('//input[@id="company"]')},
            'submit': XPath('//button[@id="submit"]'),
        }

        self.update_ui_map(ui_map)

    def set_name(self, name):
        '''设置姓名
        '''
        self.control('name').value = name

    def set_female(self):
        '''设置性别为女性
        '''
        self.control('female').click()

    def set_male(self):
        '''设置性别为男性
        '''
        self.control('male').click()

    def set_age(self, age):
        '''设置年龄
        '''
        self.control('age').selection = age

    def set_company(self, company):
        '''设置公司名
        '''
        self.control('company').value = company

    def submit(self):
        '''提交
        '''
        self.control("submit").click()
初始化BrowserPage对象之后,就可以参考上面Browser类的介绍使用封装好的WebPage对Web页面进行操作了:
pybrowserApp = PyBrowserApp()
pybrowserEmbedPage = BrowserPage(pybrowserApp)
pybrowserEmbedPage.set_name('qta')
这里进行的操作是,在应用程序的内嵌页面中设置名称为“qta”。
使用Browser类封装基础页面标识
在QT4C中封装了对Chrome、IE浏览器的支持,你可以通过调用qt4w的Browser类来进行使用。要想使用Browser类来封装web基础页面标识,你同样需要对WebPage和Webelement进行封装。
WebPage的封装和使用
根据《Web控件的标识与使用》中的demo范例,我们封装一个WebPage:
from qt4c.webcontrols import XPath
from qt4c.webcontrols import WebPage, WebElement

class DemoPage(WebPage):
    '''登录页面
    '''
    ui_map = {
        'title': XPath('//div[@class="panel-heading"]'),
        'name': {'type': InputElement, 'locator': XPath('//input[@id="name"]')},
        'female': XPath('//input[@value="female"]'),
        'male': XPath('//input[@value="male"]'),
        'age': {'type': SelectElement, 'locator': XPath('//select[@id="age"]')},
        'company': {'type': InputElement, 'locator': XPath('//input[@id="company"]')},
        'submit': XPath('//button[@id="submit"]'),
    }

    def set_name(self, name):
        '''设置姓名
        '''
        self.control('name').value = name

    def set_female(self):
        '''设置性别为女性
        '''
        self.control('female').click()

    def set_male(self):
        '''设置性别为男性
        '''
        self.control('male').click()

    def set_age(self, age):
        '''设置年龄
        '''
        self.control('age').selection = age

    def set_company(self, company):
        '''设置公司名
        '''
        self.control('company').value = company

    def submit(self):
        '''提交
        '''
        self.control("submit").click()
接下来,就可以调用Browser类来打开一个Web页面,直接获取一个指定的WebPage对象:
from demolib.demopage import DemoPage
from qt4w.browser import Browser

Browser.register_browser('Chrome', 'browser.chrome.ChromeBrowser')
browser = Browser("Chrome")         #指定浏览器
page = browser.open_url('https://qtacore.github.io/qt4w/demo.html', DemoPage)   #打开网页,返回指定的WebPage页
page.set_name('qta')
这里需要指出的是,在使用Browser(“browsername”)获取浏览器对象时,需要先使用register_browser()注册一下,才能使用,此处注册一次即可,具体用法参考《跨端跨平台测试》。
除了自定义的方法,QT4W还提供了对以下操作的支持:
1、基本属性的定义及操作,包括页面的URl、Title、ReadyState、cookie等
2、页面滑动操作
3、查找元素:find_element和find_elements
4、其他操作:执行JS接口(eval_script)、激活窗口activate()以及upload_file()等
此外,关于Browser类的更多接口,请参考 browser package 对应的浏览器类型进行使用。